
Building a Root Cellar: How to Keep Your Garden Harvest Through Winter
Growing more food than you can eat sounds like a wonderful problem—until the kitchen counter disappears beneath it. This year, our garden produced more beets and tomatoes than we could use fresh. I pickled some of the beets, and my partner put tomatoes into jars. That experience got me thinking about another project: building a root cellar.
My first picture of a root cellar was straightforward enough: dig a hole, reinforce it, add a door, and start carrying vegetables underground. But that raises some important questions, especially in the cold-winter regions of northeastern North America. Would everything freeze in January? Does the cellar need to be deep enough to walk into, or could a smaller version hold a few baskets of vegetables?
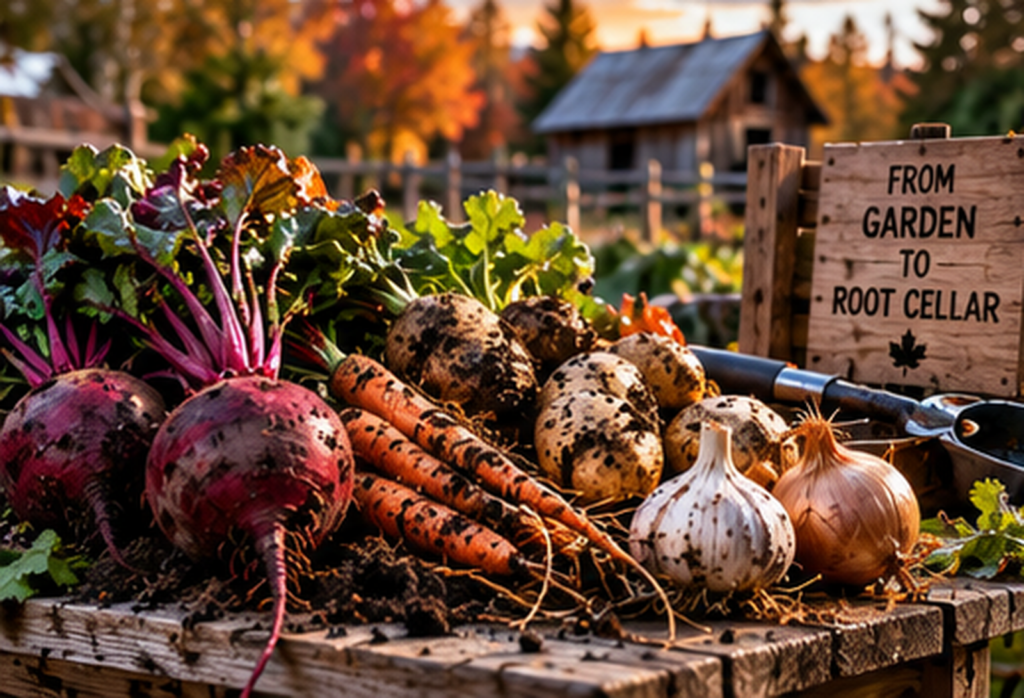
The more useful question, though, comes before the shovel: what do you actually want to store? Fresh beets, cured garlic, winter squash and jars of tomatoes do not all need the same conditions. Understanding those differences turns a root cellar from an appealing homesteading project into something that can genuinely help protect a harvest.
What a Root Cellar Actually Does
A root cellar slows deterioration by controlling temperature, humidity and airflow. Harvested vegetables are still living tissues: they continue breathing, losing moisture and changing after leaving the plant. Suitable storage conditions slow those processes, but they do not stop them or repair produce that was already deteriorating. Think of a cellar as a way to buy time, not make food indestructible.
That distinction explains why simply putting everything somewhere dark is not enough. Beets need protection against drying out, while onions need a relatively dry environment. Winter squash generally needs warmer storage than either of them. The practical answer may be a humid cellar for roots, a dry area for bulbs, and separate pantry shelves for preserves.
Three Root Cellar Options, From Small to Walk-In
A Small Reach-In Cellar
Yes, root cellars exist that you access by opening a cover and reaching inside rather than climbing underground. Published cold-storage guides include buried barrels and shallow earth pits protected with insulating material and weather-resistant covers. These are smaller storage arrangements, not miniature rooms. They can make sense for modest harvests, although frost protection and drainage still determine whether they are useful throughout winter or only during part of the season.
For a first experiment, I would favour something that holds a manageable quantity of food and remains accessible from the surface. Removable baskets would let you inspect and retrieve vegetables without leaning deep into a container. The point is to test whether the storage conditions work on your property before committing the entire harvest.
A Basement Cold Room
An existing basement can sometimes provide the starting point for a cold room, avoiding a separate outdoor excavation. The University of Alaska Fairbanks describes partitioned basement storage and notes that an area around 1.2 by 1.8 metres—4 by 6 feet—can serve many households. Insulation and moisture management must separate the storage environment from the rest of the house. Measure the existing conditions first; a room beside the furnace is not cold storage simply because it is downstairs.
A Walk-In Earth-Sheltered Cellar
A walk-in cellar offers more room for shelving, bins and access, but it changes the construction problem substantially. Now you are designing an underground structure, not just protecting vegetables with an insulated cover. Excavation stability, water entry, safe access and the loads carried by the finished walls and roof all need proper consideration.
Do not dig a room-sized hole and assume miscellaneous boards will hold the earth back. Excavations can collapse, flood or undermine nearby structures, and protective measures depend on soil and site conditions. Have a qualified designer or engineer establish the permanent structure and a competent excavation contractor plan the digging and temporary protection. A short gardening guide cannot establish safe retaining-wall or roof specifications for an unknown site.
Will a Root Cellar Freeze in a Northern Winter?
It can, especially when shallow storage is treated as automatically frost-proof. Earth shelter helps moderate temperature changes, but exposed entrances, covers and walls still need suitable insulation. Alaska’s extension guidance warns that seasonal frost can penetrate more than 1.2 metres—4 feet—into soil and discusses supplemental heat when needed. That is a warning against universal burial-depth rules, not a depth recommendation for every property.
For a small store, the right depth therefore depends on the complete design, including its insulation, drainage and local frost conditions. A shallow seasonal storage pit and an all-winter cellar are different promises. Do not keep digging deeper merely to chase an assumed frost line; when a safe, accessible design cannot provide the conditions you need, a basement arrangement may be the better choice.
A thermometer that records minimum and maximum temperatures is particularly useful because one afternoon reading cannot reveal an overnight freeze. Add a humidity meter and check conditions where the vegetables actually sit. Summer deserves the same scrutiny: a space that feels cool compared with outdoor air may still be too warm for long-term storage of particular crops.
Building a Small Root Cellar: The Practical Starting Point
For a beginner, the sensible project is a small, non-entry store built from a suitable published or professionally specified design. Before purchasing materials, decide how many baskets you need to accommodate and how you will retrieve them. Include the lid, insulation, drainage, ventilation and monitoring equipment in the plan—not just the container.
Use this sequence to keep the project grounded:
- Check the site before digging. Arrange utility locates, account for private buried services, and confirm applicable local requirements. Keep the excavation away from foundations unless its effects have been professionally assessed. Underground storage is not worth damaging a service line or destabilizing another structure.
- Solve drainage before adding storage. Choose a design that diverts surface runoff and deals with water around the installation. A layer of gravel is not, by itself, proof that water has somewhere to go. A location that regularly fills with water needs a different solution.
- Choose materials for their actual job. Food-contact surfaces need to be suitable for food, while the outer structure must tolerate its installation conditions. “Food-grade” and “strong enough to bury” are different requirements. Do not substitute a thin household storage tote for a specified structural container.
- Protect the opening and preserve access. Follow the design’s insulation and weather-cover details, and keep the access point identifiable after snowfall. Arrange the interior so food can be lifted out from above. Secure the installation against accidental access by children.
- Provide controlled ventilation and monitoring. Follow the design’s airflow provisions rather than sealing fresh vegetables into an airtight chamber. Screen openings against pests and watch temperature and humidity as the weather changes. Begin with a small batch and keep a backup location available.
The basic arrangement is simple: protected storage, an accessible insulated cover, and water directed away from the food. Published small-cellar designs illustrate that principle using several different configurations. Their dimensions should not be detached from the rest of the design and treated as a guarantee for every climate.
Curing Comes Before Storage—But Not for Every Crop
Curing prepares certain vegetables for longer storage by allowing protective tissues to dry or minor harvest injuries to heal. It does not mean leaving everything in the sun until it feels dry. Onions and garlic need drying, while potatoes need a relatively humid curing environment. The distinction matters: a useful treatment for one crop can damage another.
Onions: Dry the Necks, Not Just the Surface
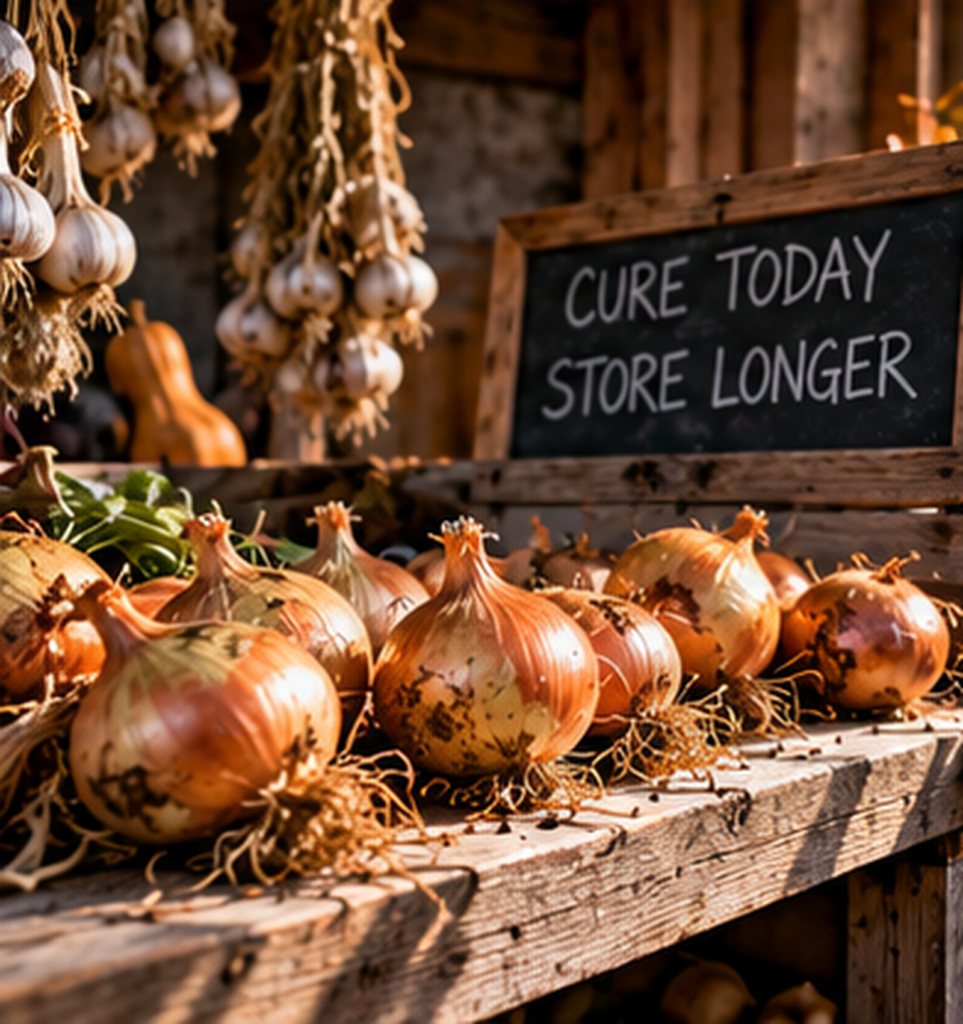
Spread harvested onions in a single layer in a warm, dry, well-ventilated location protected from rain. Allow roughly two to four weeks, judging readiness by thoroughly dry necks and papery outer skins rather than the calendar alone. Once cured, trim the foliage and place sound bulbs in mesh bags or ventilated crates. Keep thick-necked bulbs for earlier use, and discard those showing decay instead of hiding them among the good ones.
Garlic: Keep the Bulbs Intact While They Cure
Lift garlic carefully and leave the shoots attached during curing. Remove large soil clumps, then place the plants in a warm, dry, airy location for approximately three to four weeks. Once the wrappers, roots and shoots have dried, trim the stems and roots without stripping away the protective bulb coverings. Set aside your healthiest large bulbs for planting before the kitchen gradually consumes them all.
For storage, keep garlic in breathable containers rather than sealed plastic bags. A cool, relatively dry space is more suitable than the humid conditions used for fresh roots. Putting garlic on a higher shelf does not automatically solve that humidity mismatch; check the actual conditions instead.
Potatoes: Darkness and Gentle Handling Matter
Potatoes need a different curing routine. After harvest, hold sound tubers in darkness at approximately 10–16°C, with relatively high humidity, for about two weeks. This helps minor injuries heal before longer storage. Handle them gently and keep badly damaged or decaying potatoes out of the storage batch.
After curing, move them to dark storage near 4°C, with high humidity and ventilation. Light encourages greening, while warmer conditions promote sprouting. Very cold storage can cause sweetening, which matters particularly for potatoes intended for frying. Darkness is therefore part of the storage system, not merely an aesthetic preference for underground rooms.
Winter Squash: Do Not Treat It Like a Beet
Harvest winter squash when mature, handle it carefully, and leave a short section of stem attached. Curing recommendations are not identical across extension guides: Iowa State recommends warm curing for many winter squash, while Minnesota notes that a separate cure can be unnecessary. Acorn squash is an important exception to warm-curing advice because that treatment can reduce its quality. Follow guidance for the type you grow rather than applying one routine to every squash.
Once ready for storage, squash generally belongs around 10–13°C, in a relatively dry, ventilated space. Arrange it so you can inspect the rind and avoid a tightly packed pile. Acorn squash often keeps for weeks rather than the many months possible with some longer-storing varieties. The word “winter” describes its use and keeping qualities—not a preference for nearly freezing temperatures.
Match the Storage Conditions to the Crop
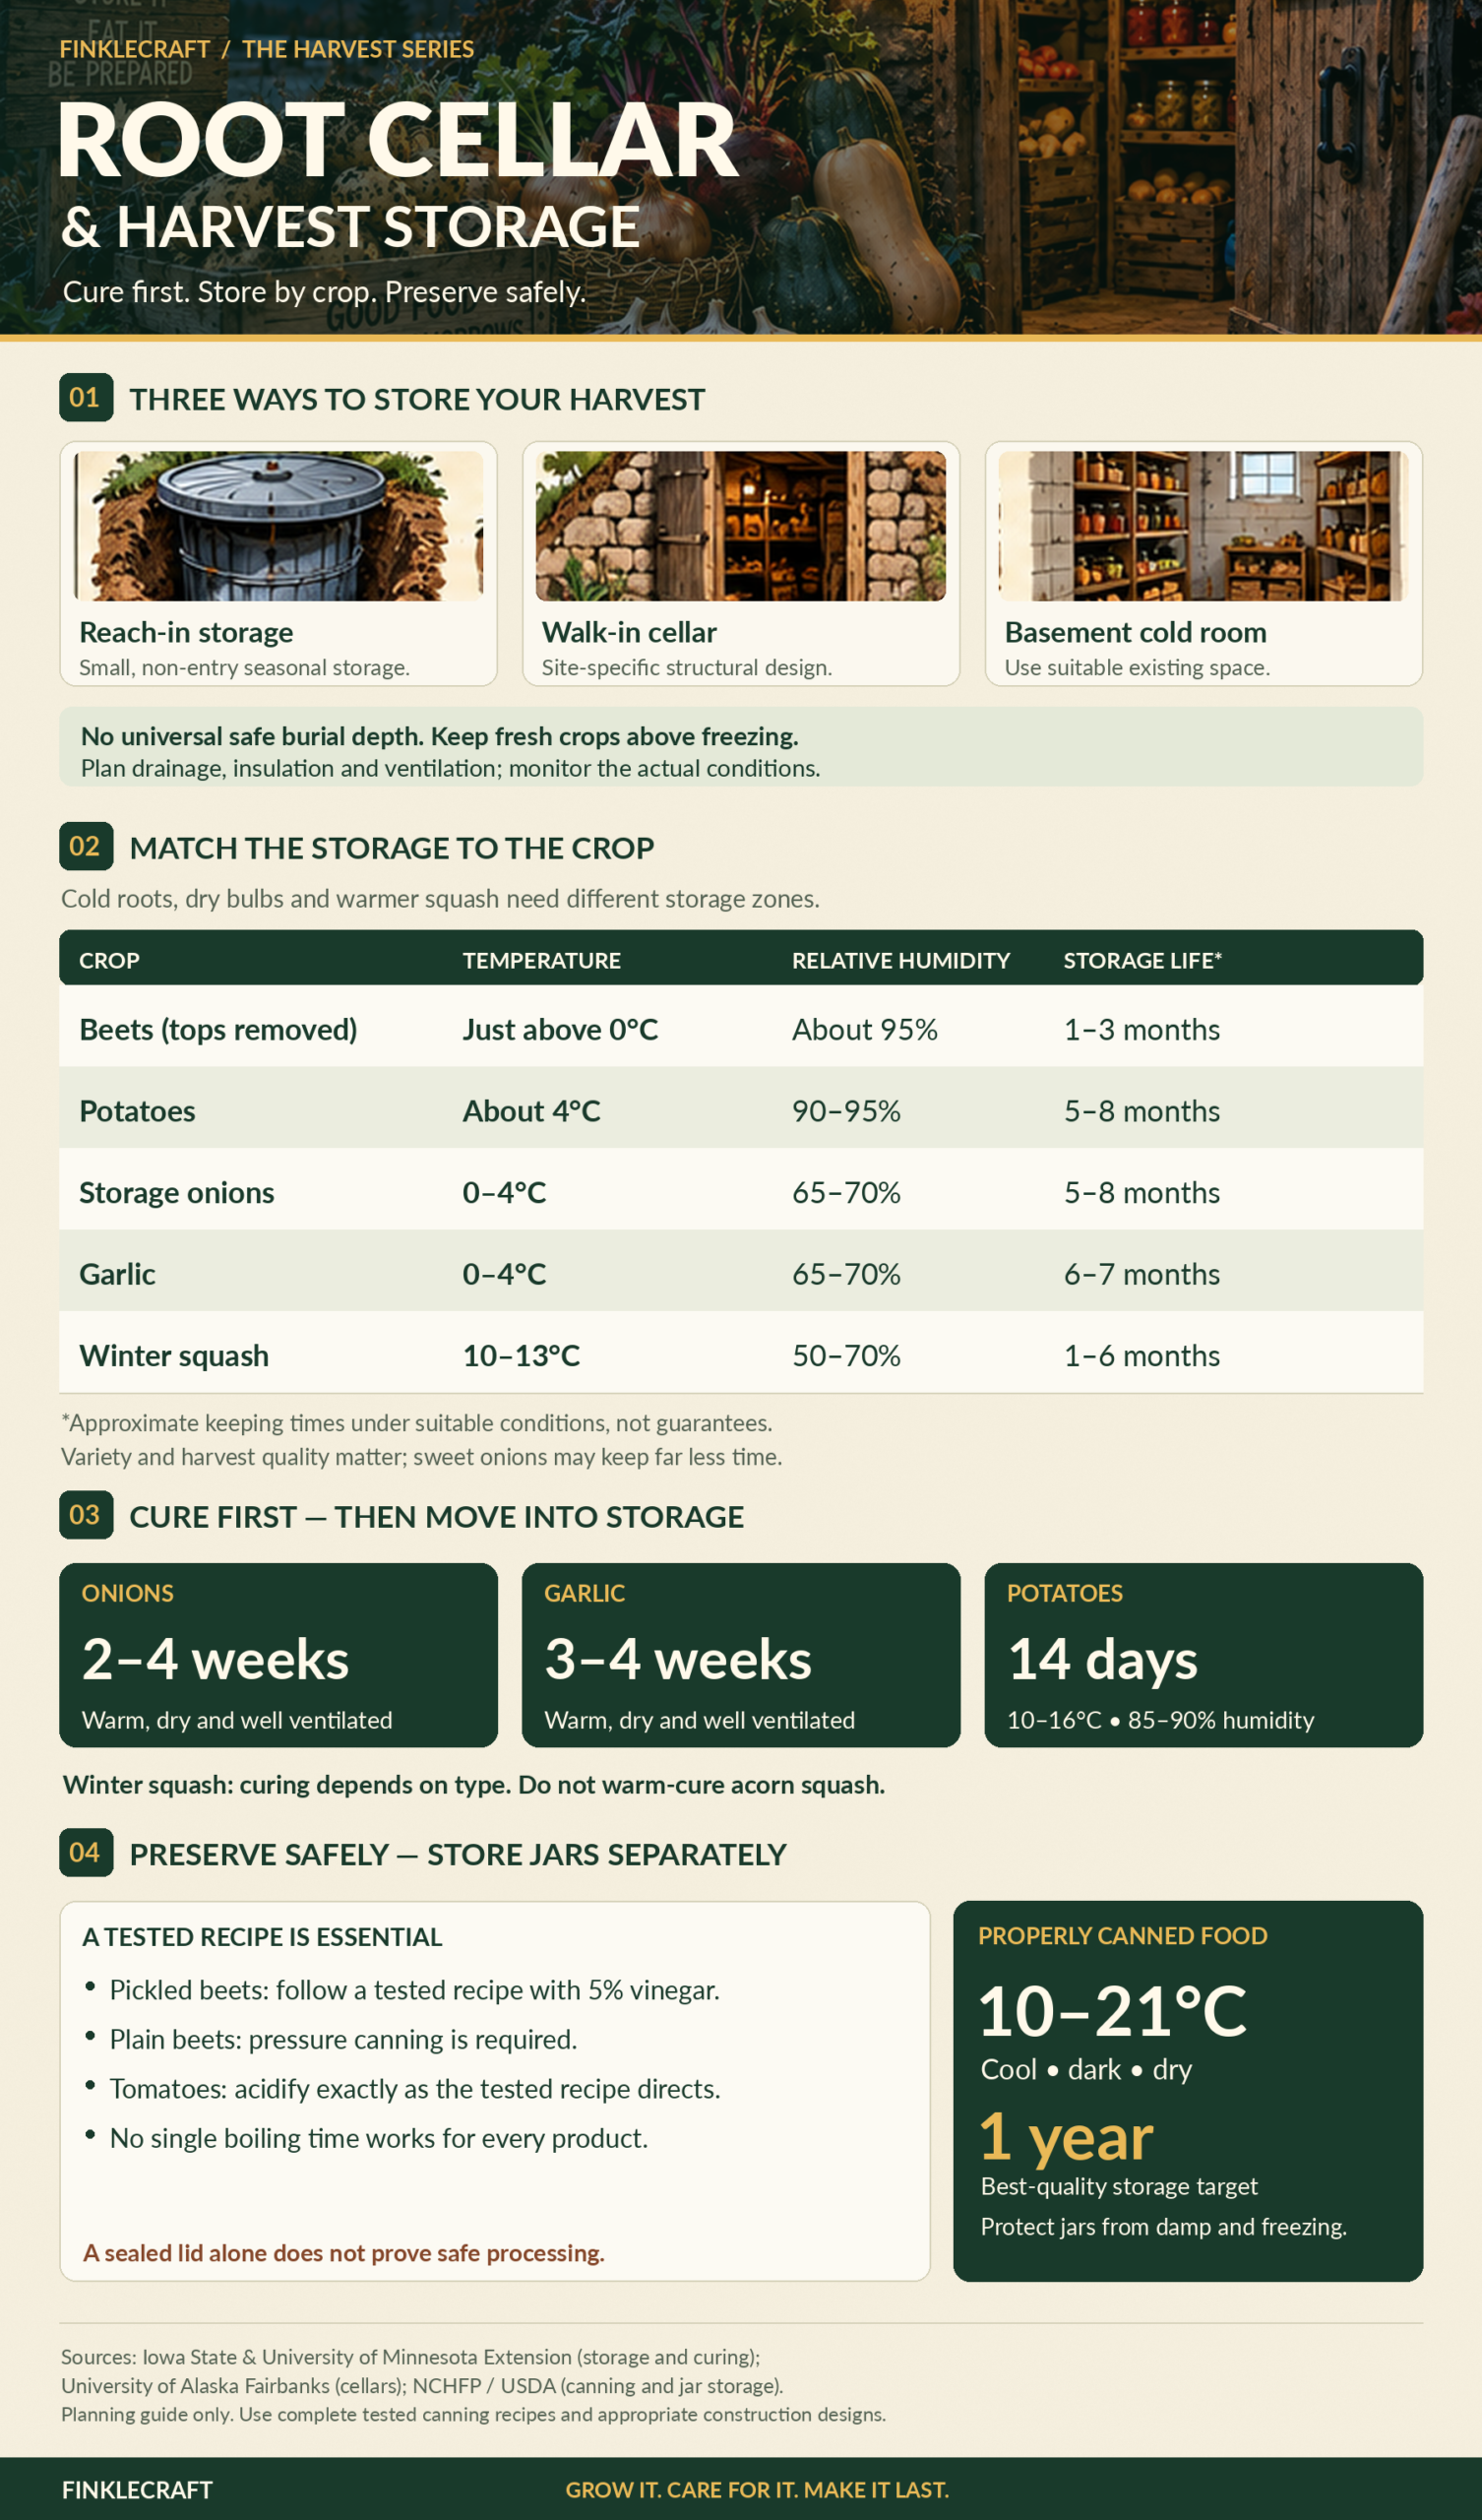
The following ranges are planning targets, not promises that every harvest will last until spring. Variety, maturity, harvest damage and fluctuations in storage conditions all influence the result. Use the table to identify which crops can share a space and which need separate treatment.
| Crop | Storage temperature | Humidity preference | Potential storage life under suitable conditions |
|---|---|---|---|
| Beets, tops removed | Near 0°C, without freezing | Very high | Several months |
| Cured potatoes | Around 4°C | High, roughly 90–95% | Several months |
| Cured onions | Around 0–4°C | Relatively dry, roughly 65–70% | About 1–8 months, depending on type |
| Cured garlic | Around 0–4°C | Relatively dry, roughly 65–70% | Several months |
| Winter squash | Around 10–13°C | Relatively dry, roughly 50–70% | About 1–6 months, depending on type |
These differences are reflected in university storage recommendations.
Beets: Store Some Fresh, Pickle Some for Later
Beets demonstrate why preserving a harvest does not always require jars. Sound roots can go into cold, humid storage after their leafy tops are trimmed, leaving a short section of stem. Protect them from drying out, using an appropriate moisture-retaining storage arrangement rather than an open basket in a dry room. They do not need the warm drying treatment used for onions.
Pickling provides a different option, and it was the route I took with part of our harvest. However, the vinegar is not simply seasoning: its concentration and proportion are essential parts of a tested canning recipe. The National Center for Home Food Preservation’s pickled beet recipe specifies 5% acidity vinegar, ingredient quantities, preparation, headspace and processing times. Follow the entire recipe rather than borrowing its processing time for a different mixture.
Plain beets and pickled beets are not interchangeable canning projects. Plain beets are low-acid vegetables and require a tested pressure-canning process for shelf storage. Adding an unspecified splash of vinegar does not establish that a jar is safely acidified. This is one place where measuring carefully matters more than improvising flavour.
Tomatoes: Why “Boil the Jars for an Hour” Is Not a Recipe
Our excess tomatoes also ended up in jars, which is a natural response when ripe fruit arrives faster than the household can eat it. But describing canning as “put everything in jars and boil it for an hour” leaves out the details that determine safety. The preparation, acidification, jar size, packing method and altitude all affect the required process. There is no single boiling time that makes every tomato product shelf-stable.
Tomatoes need the acidification specified by the tested recipe. For whole, crushed or juiced tomatoes in standard pint jars, NCHFP specifies one tablespoon of bottled lemon juice or one-quarter teaspoon of citric acid; the amounts double for quart jars. Use the exact jar size and instructions covered by the recipe, and do not omit the acid because the tomatoes taste sour. Acidification is only one part of the complete process.
For example, the tested recipe for whole or halved tomatoes packed raw without added liquid specifies 85 minutes in a boiling-water canner at elevations up to 305 metres—1,000 feet. That is longer than an hour, and higher elevations require adjustments. It is also the time for that particular recipe, not a substitute for the directions for sauce, salsa or tomatoes packed another way.
What Proper Boiling-Water Canning Involves
Once you have selected a tested recipe suitable for boiling-water processing, prepare and fill proper canning jars exactly as directed. Use a canner with a rack, keeping water above the jar lids: at least 2.5 centimetres, or 5 centimetres for processes longer than 30 minutes. Start timing when the water reaches a full boil and maintain boiling throughout the prescribed process. If boiling stops, return it to a boil and restart the full processing time.
After processing, follow the cooling instructions and leave jars undisturbed for 12–24 hours before checking seals. Do not tighten bands or press lids while the jars cool. This is an overview of the equipment and sequence, not a standalone recipe; ingredient preparation, headspace, altitude adjustments and processing time must still come from the tested instructions.
Most importantly, a sealed lid does not prove that the contents were safely processed. Boiling-water canning cannot replace pressure canning for low-acid foods, and a cool cellar cannot rescue an improperly canned batch. Botulism toxin cannot reliably be detected by appearance, smell or taste. Do not taste questionable jars to decide whether they are safe.
Should the Finished Jars Go Into the Root Cellar?
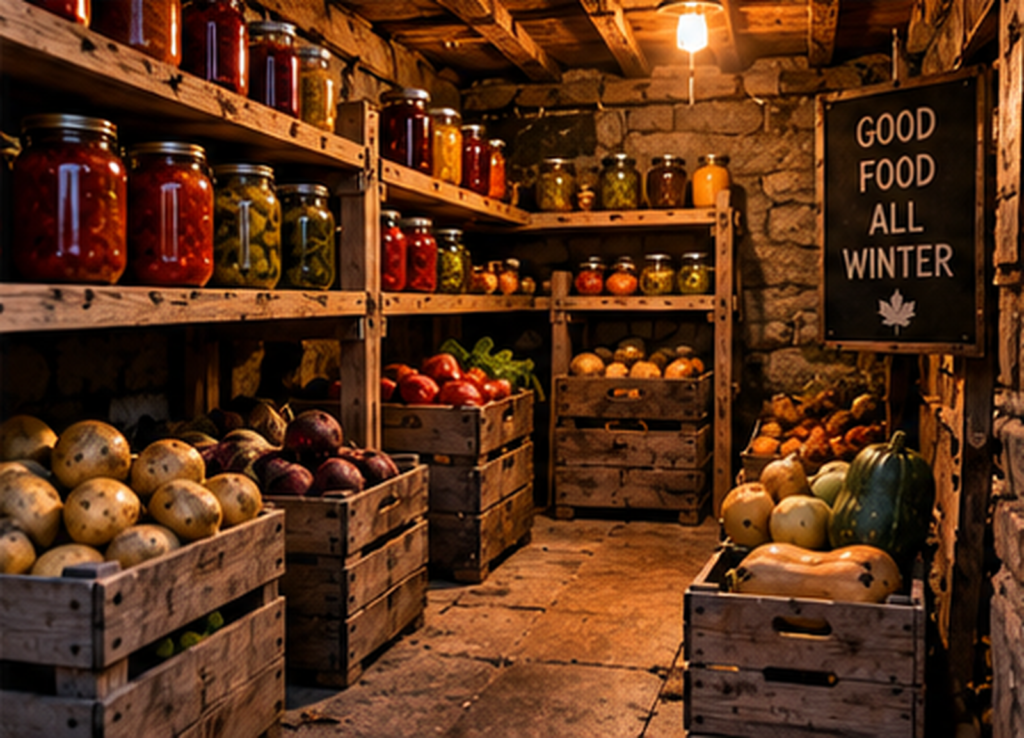
Only when the conditions suit them. Properly home-canned foods belong in a clean, cool, dark, dry location, ideally around 10–21°C for quality. A damp root cellar can encourage metal-lid corrosion, while freezing can damage jars or compromise seals. The ideal place for fresh beets may therefore be the wrong place for pickled ones.
For jars using conventional two-piece lids, remove the screw bands after cooling and confirming the seals, then clean, dry, label and date the jars. Store them where leaks and seal failures will be visible. Plan to use properly canned food within a year for best quality; that recommendation does not validate a batch made with an unsafe method. Refrigerate the contents after opening.
Make the First Winter a Trial, Not a Gamble
My approach would be to begin smaller than the dream version of the project. Store a limited quantity, record temperatures, and keep a simple inventory showing what went in and when. Check regularly, remove deteriorating produce, and use shorter-keeping varieties first rather than saving everything for some distant emergency. Good storage still requires inspection; damaged produce can spread deterioration to its neighbours.
For the first season, I would also keep the different storage methods working together. Some vegetables would remain fresh, some would be cured, and suitable portions would become properly processed preserves. That avoids making one new cellar responsible for the entire garden’s success. It also reveals which methods are actually convenient enough to keep using.
Final Verdict: Build for the Harvest, Not the Photograph
I still like the idea of a root cellar, perhaps even more now that it looks less like a mysterious underground pantry and more like a practical project with specific requirements. But I would not start by digging the biggest hole possible. I would start with the food, the quantity, the site and the conditions each crop needs.
The same thinking applies in the kitchen. Rather than treating every surplus vegetable as another jar to boil, choose a suitable, tested preservation method and follow it carefully. Rather than expecting one storage room to do everything, let different spaces handle different jobs.
A successful root cellar does not have to be impressive when you open the door. It has to help you use the food you worked to grow. Months after the garden has gone quiet, that is the result that matters