
Don’t Put Your Garden to Bed Yet: Plant Garlic, Save Seeds and Build Better Soil for Next Year
When the tomatoes are slowing down, the peppers have nearly finished, and your lettuce plants have somehow transformed into five-foot-tall towers, it is tempting to declare gardening season over. Harvest whatever is left, pull everything out, and forget about the dirt until spring. But if your goal is to become more self-reliant and get more food from the same piece of ground every year, fall may actually be one of the most important parts of the gardening season.
This is when one garden can begin feeding the next. Your healthiest plants can provide next year’s seeds. Fallen leaves and healthy plant material can become compost or mulch. Empty beds can be protected and replenished instead of sitting bare all winter. And while most vegetables are finished for the year, garlic can actually be planted now, spend the winter underground, and become one of next summer’s crops.
The bigger idea is simple: a productive garden should not have to completely restart from zero every spring. Seeds, organic matter, planting stock and knowledge can all carry forward. Once you begin thinking this way, fall cleanup stops feeling like the end of the gardening year and starts looking like the first step of the next one.
Your Next Gardening Season Starts in the Fall
A good fall garden reset is really a transfer of resources. You are taking what remains from this year and deliberately deciding what should become food, seed, compost, mulch or next year’s planting stock. Nature will recycle a garden whether you participate or not, but taking control of that process gives you a much better chance of entering spring with healthier soil and fewer things to buy.
Before pulling everything out, walk through the garden and look carefully at what performed well. Which tomato plant produced heavily? Which lettuce stayed healthy before finally bolting? Which pepper plant produced unusually large fruit? Which beans seemed unaffected by disease? Plants that performed particularly well in your own garden may deserve more attention than whatever happens to be left in a seed packet next spring.
There is an important catch, however. Saving a seed from an impressive vegetable does not automatically guarantee another impressive vegetable. Genetics, pollination, hybrids, disease and growing conditions all play a role. Seed saving works extremely well when you understand those limitations, but it is not quite as simple as grabbing seeds from the biggest tomato and assuming you have permanently created a giant-tomato dynasty.
Plant Garlic Now and Harvest It Next Summer
Garlic is one of the best examples of a crop that turns the gardening calendar upside down. In Ontario and many other cold-climate regions, garlic is normally planted during the fall and harvested the following summer. Garlic benefits from exposure to cold, and Ontario agricultural guidance describes it as a crop commonly grown as a winter annual: planted before winter, established underground, and ready to resume vigorous growth when the soil warms in spring.
That makes garlic an almost perfect final planting for an empty garden bed. Instead of leaving the bed unused for the next six or seven months, you can prepare the soil, plant cloves, cover them with mulch and let winter become part of the growing process.
There are two broad groups of garlic you will commonly encounter: hardneck and softneck. Hardneck garlic is especially popular in colder climates and produces a flowering stalk called a scape. Those curly green scapes are edible and can be harvested in late spring or early summer. Softneck garlic generally produces more cloves and tends to store longer, but many hardneck varieties are particularly well suited to cold Canadian winters.
Start With Good Garlic, Not Just Any Garlic
You can bury a clove from a grocery-store bulb and sometimes get a plant, but that does not make supermarket garlic ideal planting stock. The variety may not be particularly well adapted to your region, and unhealthy planting material can introduce problems into the garden. If possible, start with healthy seed garlic from a reputable source or save healthy bulbs from garlic you have already successfully grown.
Keep the bulbs whole until relatively close to planting time. Ontario guidance recommends storing planting stock as whole bulbs because individual cloves deteriorate more rapidly after being separated. When you are ready to plant, gently break the bulb apart and choose large, firm, healthy cloves without mould, softness or obvious damage.
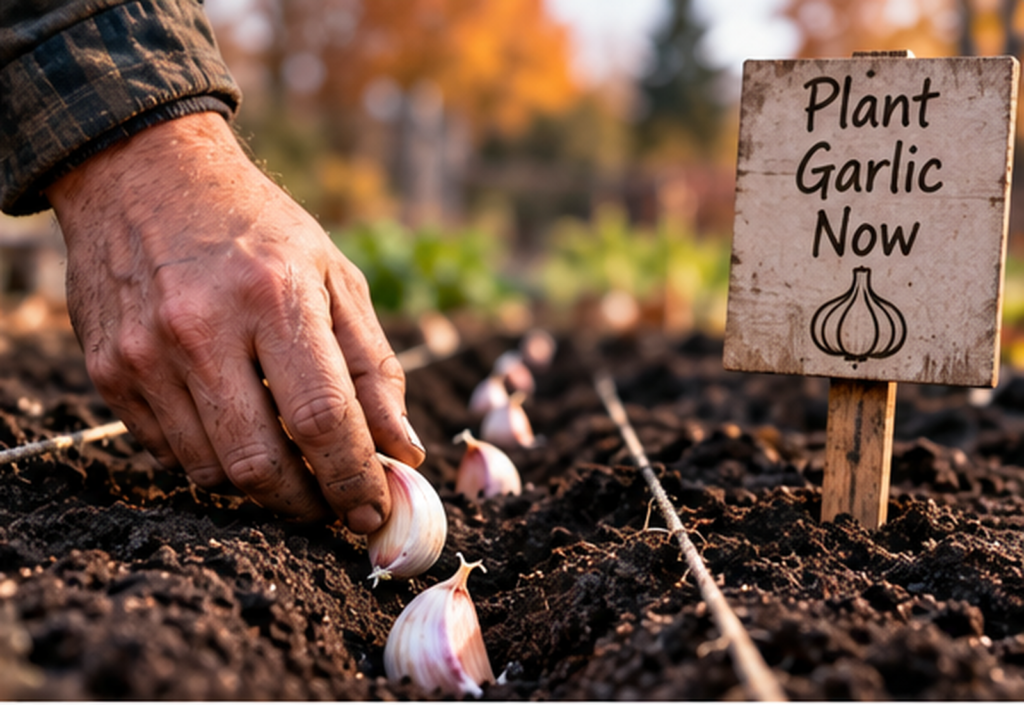
Plant each clove with the flat root end down and the pointed end facing upward. It sounds obvious, but it matters. Upside-down cloves can still grow, although they may form curved shoots and irregular bulbs. For a home garden, spacing cloves roughly 10 to 15 centimetres apart gives the developing bulbs room to expand, while leaving enough space between rows to weed and work around them.
Garlic does not need to be planted three feet underground to survive a Canadian winter. Ontario production guidance generally calls for a few centimetres of soil above the clove, with somewhat deeper planting in lighter soils helping protect against frost heaving. The exact depth and planting date should be adjusted for your climate and soil rather than copied blindly from somebody gardening hundreds of kilometres away.
When Should You Plant Garlic?
There is no single Canadian garlic-planting date that works everywhere. The goal is to plant late enough that the garlic does not produce excessive above-ground growth before winter, but early enough for the cloves to begin establishing roots before the ground freezes solid.
That is why “plant garlic on October 15” is not particularly useful advice unless you know where the person giving it lives. A gardener in Ottawa can experience a very different fall from a gardener in Vancouver, Calgary or northern Ontario. Pay attention to your local frost pattern, soil temperature and typical freeze-up period rather than treating a calendar date like a law.
After planting, cover the bed with mulch. Straw is commonly used by garlic growers in Eastern Ontario, and Ontario guidance describes winter mulch as a way to moderate soil temperature and protect garlic from repeated freezing and thawing. A generous layer also helps suppress weeds and conserve moisture once spring arrives.
Your basic garlic routine looks like this:
- Choose healthy seed garlic suited to your climate.
- Keep bulbs intact until close to planting time.
- Separate the cloves and choose the largest healthy ones.
- Plant the pointed end upward.
- Space cloves roughly 10–15 cm apart.
- Cover them with several centimetres of soil.
- Water if the bed is unusually dry.
- Add a protective layer of clean mulch.
- Mark the bed so you remember what is underground.
That last step is easy to laugh at until April arrives and you are staring at an empty-looking garden bed with a shovel in your hand.
Save Your Best Garlic and You May Never Need to Buy It Again
Garlic fits beautifully into a self-reliant garden because the cloves themselves become next year’s planting stock. When you harvest garlic the following summer, you can cure it, eat most of it and reserve some of your healthiest bulbs for replanting in fall.
There is a satisfying loop to the process. One clove becomes an entire bulb. Some of those cloves are eaten, while some go back into the soil and repeat the cycle. Over time, a gardener can maintain a favourite garlic variety without buying a new bag of planting garlic every year.
Selection still matters. Do not save mushy, diseased or suspicious bulbs just because they are free. Choosing healthy planting stock is one of those small habits that separates genuine self-reliance from simply perpetuating a problem.
Before Pulling Everything Out, Save Next Year’s Seeds
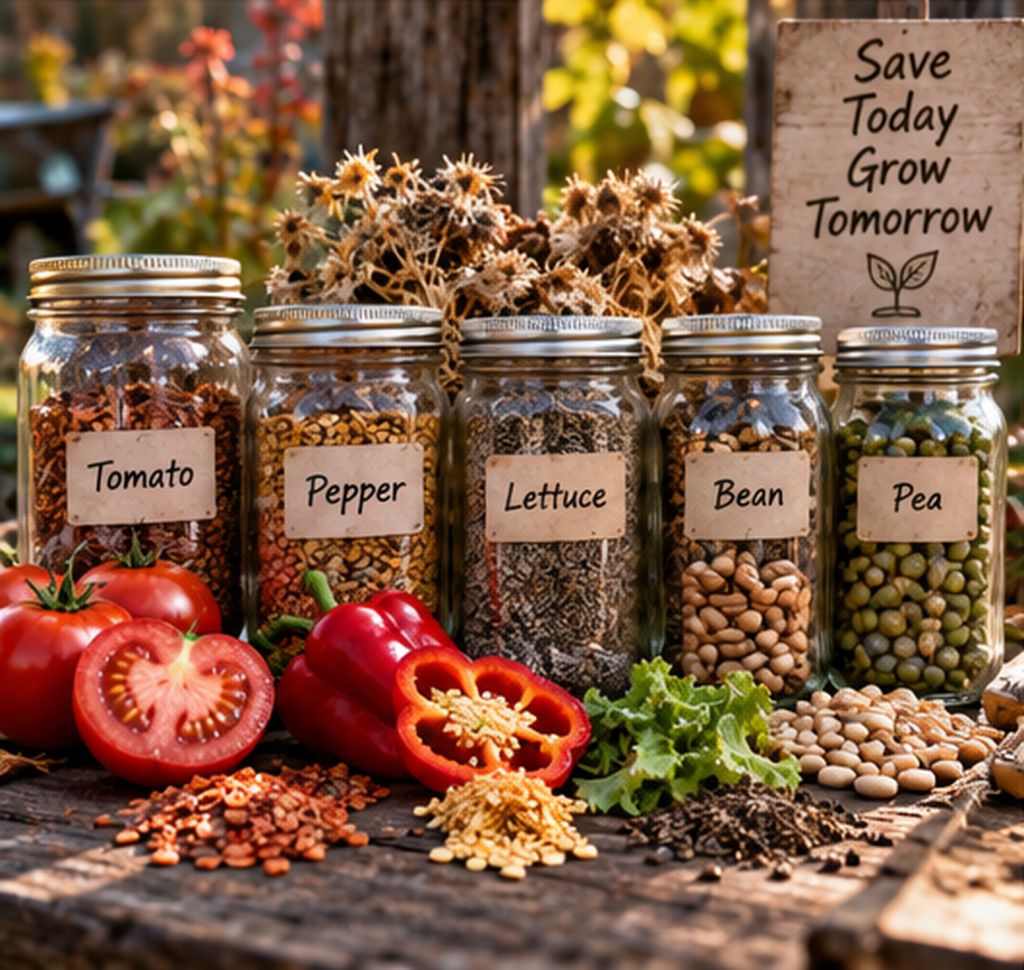
Seed saving might be the most overlooked resource sitting in a fall vegetable garden. A single lettuce plant can produce an enormous number of seeds. One mature pepper can contain dozens. A tomato can hold enough seed to grow far more plants than most families could possibly use.
But before saving anything, find out whether the plant is an open-pollinated variety or an F1 hybrid. Open-pollinated varieties are generally much better candidates for saving seed that resembles the parent plant. Seeds from F1 hybrids may still germinate, but the next generation can display a mixture of traits and may look, taste or perform differently.
Cross-pollination can also complicate things. Some vegetables readily exchange pollen with nearby compatible varieties. Others are much more likely to self-pollinate. If preserving a particular variety matters to you, isolation distances and pollination control become increasingly important.
For the average backyard gardener, though, there are several excellent beginner crops. Lettuce, tomatoes, peppers, peas and beans are all approachable places to begin.
Saving Lettuce Seeds From Those Giant Bolted Plants
If you have lettuce that has shot sky-high and now looks like a completely different species, do not pull it out just yet. Your lettuce has bolted, flowered and entered its seed-producing stage. The leaves may be too bitter to enjoy, but the plant may now be more useful as a seed factory than as food.
Lettuce eventually produces small flower heads containing seeds attached to light, fluffy material somewhat reminiscent of tiny dandelions. Those seeds are designed to travel, so waiting too long can result in your future lettuce crop blowing across the yard.
A good method is to cut the mature flower stalk when many of the seed heads are approaching maturity and place it head-first into a paper bag. University of Maine Extension recommends allowing lettuce flower stalks to continue drying in an open paper bag in a warm, dry location with good airflow. Once completely dry, the seed heads can be rubbed apart and the actual seed separated from the lightweight chaff.
And this is one place where I would choose paper over a plastic bag. Fresh plant material can still contain moisture, and sealing damp seed heads inside plastic creates exactly the conditions mould loves. A paper bag breathes, catches seeds as they fall, and allows the plant material to finish drying.
Once dry, shake and rub the seed heads inside the bag. You will get a messy mixture of seeds and plant debris. Larger debris can be picked out, while lighter chaff can be separated by gently winnowing it in front of a very weak fan or breeze. Start gently unless you want to seed your entire garage with lettuce.
Saving Seeds From a Really Good Pepper
Suppose you have one pepper plant that produced a monster pepper and you want another one next year. That is a perfectly reasonable plant to consider for seed saving, provided the plant itself is healthy and you understand whether the variety is open-pollinated or hybrid.
The biggest mistake is taking seed too early. A pepper that is perfectly good to eat may not yet have fully mature seed. Many peppers change colour as they reach full maturity, so allowing a selected fruit to remain on the plant until it is fully ripe gives the seeds more time to mature.
University of Maine Extension recommends collecting seed from mature coloured peppers rather than immature green fruit. Cut the ripe pepper open, scrape out the seeds and spread them into a thin layer to dry. Unlike tomatoes, pepper seeds do not require fermentation.
Choose a plate, screen, coffee filter or similar dry surface with decent airflow and let the seeds dry thoroughly at room temperature. If you are working with hot peppers, wear gloves and be extremely careful about touching your face or eyes. That is a lesson most people only need to learn once.
Pepper varieties can cross-pollinate, so seed saved from a plant growing near other pepper varieties may not reproduce exactly as expected. That does not make the seed useless. In fact, experimenting with saved seed can be interesting. Just understand that “I saved a seed from a huge pepper” and “this seed is guaranteed to make another identical huge pepper” are not the same statement.
The Gooey Tomato Seed Trick: Fermentation
Tomatoes make seed saving look unnecessarily complicated because every seed is surrounded by slippery gel. If you have ever scraped tomato seeds onto a tray and discovered a sticky pile of seeds glued together by dried tomato slime, you have already discovered why many seed savers use fermentation.
Scoop the seeds, juice and gel into a small jar or cup. Leave the mixture at room temperature for a short period, stirring or swirling occasionally. Penn State Extension recommends allowing tomato seed and pulp to ferment for approximately two to three days, while other extension guidance describes a fermentation lasting several days.
It may start looking disgusting. That is normal. Fermentation helps break down the gelatinous coating surrounding the seeds and makes them much easier to clean.
After fermentation, add water and stir. Healthy mature seeds tend to settle toward the bottom while pulp, debris and many poorly developed seeds remain higher in the mixture. Carefully pour off the floating material, add more clean water and repeat until you are left with clean seed.
Then spread the seeds into a thin layer and allow them to dry completely. Coffee filters are surprisingly useful because tomato seeds can become annoyingly attached to paper towels and other porous surfaces. Whatever surface you choose, keep the seeds out of intense heat and direct sun and give them good airflow.
If your tomato seeds are already sitting in a gooey pile on a tray, you have not necessarily ruined them. Scoop the seeds and gel into a container, add a little water if necessary and proceed with the fermentation process rather than trying to dry the entire sticky mass.
Beans and Peas Might Be Even Easier
Beans and peas are excellent seed-saving crops because the plant performs much of the drying process for you. Instead of harvesting every pod while it is tender, leave several of the healthiest pods on good plants and allow them to mature until they become dry and brown.
University of Minnesota Extension recommends allowing the pods to ripen until they become dry enough that the seeds begin rattling inside. The pods can then be brought indoors to finish drying before being shelled.
That means saving next year’s beans can be as simple as deliberately refusing to eat a few of this year’s beans.
How to Store Saved Seeds Without Ruining Them
Collecting seeds is only half the job. Putting damp seeds into a sealed container can undo everything surprisingly quickly. Moisture encourages mould and deterioration, so seeds need to be thoroughly dry before long-term storage.
Once dry, place each variety into a labelled envelope or packet. Write down the crop, variety and year. If you are experimenting with saved seed, add a quick note such as “largest red pepper from north bed” or “early tomato, very productive.” Those tiny notes can become surprisingly valuable after several seasons.
The individual paper packets can then be stored inside a sealed container somewhere cool, dark and dry. Properly stored seed can remain viable for years depending on the species, although germination gradually declines over time. University of Maine Extension recommends clearly identifying the species, variety and collection date and keeping dry seed under cool, stable storage conditions.
Do not underestimate the value of this little box. A handful of labelled envelopes can contain hundreds or even thousands of future plants.
Now Turn Your Attention to the Soil
Once harvesting and seed collecting are finished, the question becomes what to do with the garden itself. Traditionally, many people pulled everything out, rototilled the soil until it looked perfectly clean and left bare dirt exposed until spring.
Clean does not necessarily mean healthy.
Soil is a living system full of roots, fungi, bacteria, organic matter, insects, water and air spaces. Leaving soil bare exposes it to erosion and weathering. Ontario’s soil-health guidance encourages keeping soil protected with living vegetation or plant residue whenever practical because surface cover can reduce erosion and contribute to long-term soil health.
Start by removing obvious trouble. Pull weeds that are loaded with mature seed. Remove badly diseased plants rather than casually spreading potentially infected material around the garden. Healthy annual vegetation can usually enter a properly managed compost system, while some gardeners simply cut healthy plants off at soil level and leave the roots behind to decompose underground.
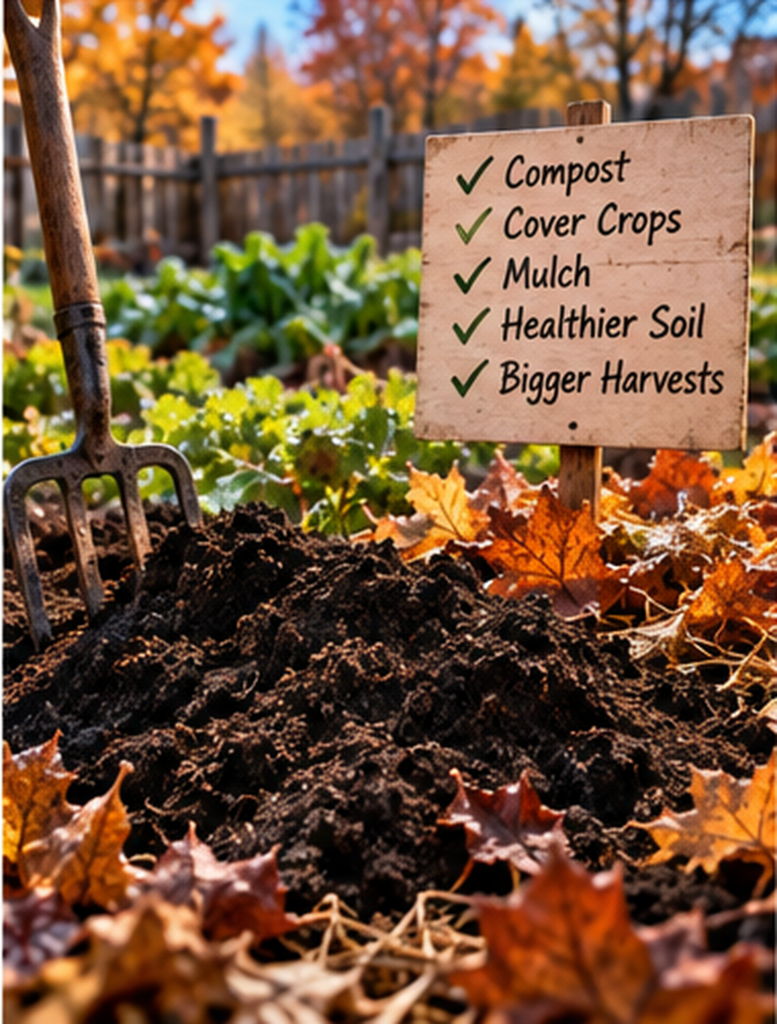
Then consider adding finished compost. A modest layer of good compost adds organic material and helps support soil structure and biological activity. Shredded leaves can also be useful as mulch or as carbon-rich material for the compost pile.
What you should not do is assume that every garden automatically needs a giant dose of lime, ash, manure or synthetic fertilizer every fall. Too much of a nutrient can create problems just as easily as too little. If you suspect a serious fertility or pH issue, a soil test tells you far more than guessing.
Do You Really Need to Rototill Every Fall?
Rototilling can be useful. If you are establishing a completely new garden, incorporating certain amendments or dealing with specific problems, cultivation may make sense. But the idea that soil has to be aggressively pulverized every autumn simply because that is what gardens are supposed to look like deserves some skepticism.
Repeated intensive disturbance can break down soil structure and leave the surface vulnerable to erosion. In an established home garden, compost, mulch, plant roots and targeted cultivation can often accomplish much of what is needed without turning the entire soil profile upside down every year.
The better question is not “Should I till?” It is “What problem am I trying to solve by tilling?”
If you cannot answer that question, firing up the rototiller may simply be creating more work.
Cover Crops: Let Plants Work on the Soil
Instead of leaving an empty bed bare, another option is to deliberately grow something for the benefit of the soil. Cover crops can protect against erosion, suppress weeds, capture nutrients and add organic material through their roots and foliage.
Oats and barley can provide excellent fall ground cover when planted early enough, while winter rye and winter wheat can survive winter and continue protecting soil into spring. Ontario guidance notes that spring cereals such as oats and barley work well for late-summer and early-fall planting but lose usefulness when seeded too late, while winter cereals can overwinter and provide extended erosion protection.
That timing matters. In a cold climate, throwing oat seed onto frozen dirt in November is not really a cover-crop strategy. By mid-September in much of Ontario, the window for some species is already narrowing, while hardier winter cereals may still be options depending on local conditions.
Cover crops are useful, but they are not mandatory for every backyard bed. If your planting window has passed, mulch can still accomplish the fundamental goal of protecting the soil surface.
Stop Throwing Away All Those Fall Leaves
Every autumn, an extraordinary thing happens across Canadian neighbourhoods. Trees drop enormous quantities of organic material, homeowners spend hours gathering it into bags, and then many of those same homeowners eventually purchase bags of mulch or compost.
There may be a more efficient system.
Healthy fall leaves can be shredded with a lawn mower and used as mulch, added to a compost pile as a carbon-rich material or allowed to slowly break down into leaf mould. Shredding helps because thick mats of whole leaves can become compacted and reduce airflow.
You do not need to save every leaf on the property. The goal is not to build a second job for yourself. Save what is useful, compost what you can realistically manage and treat the material as a resource rather than automatically viewing it as garbage.
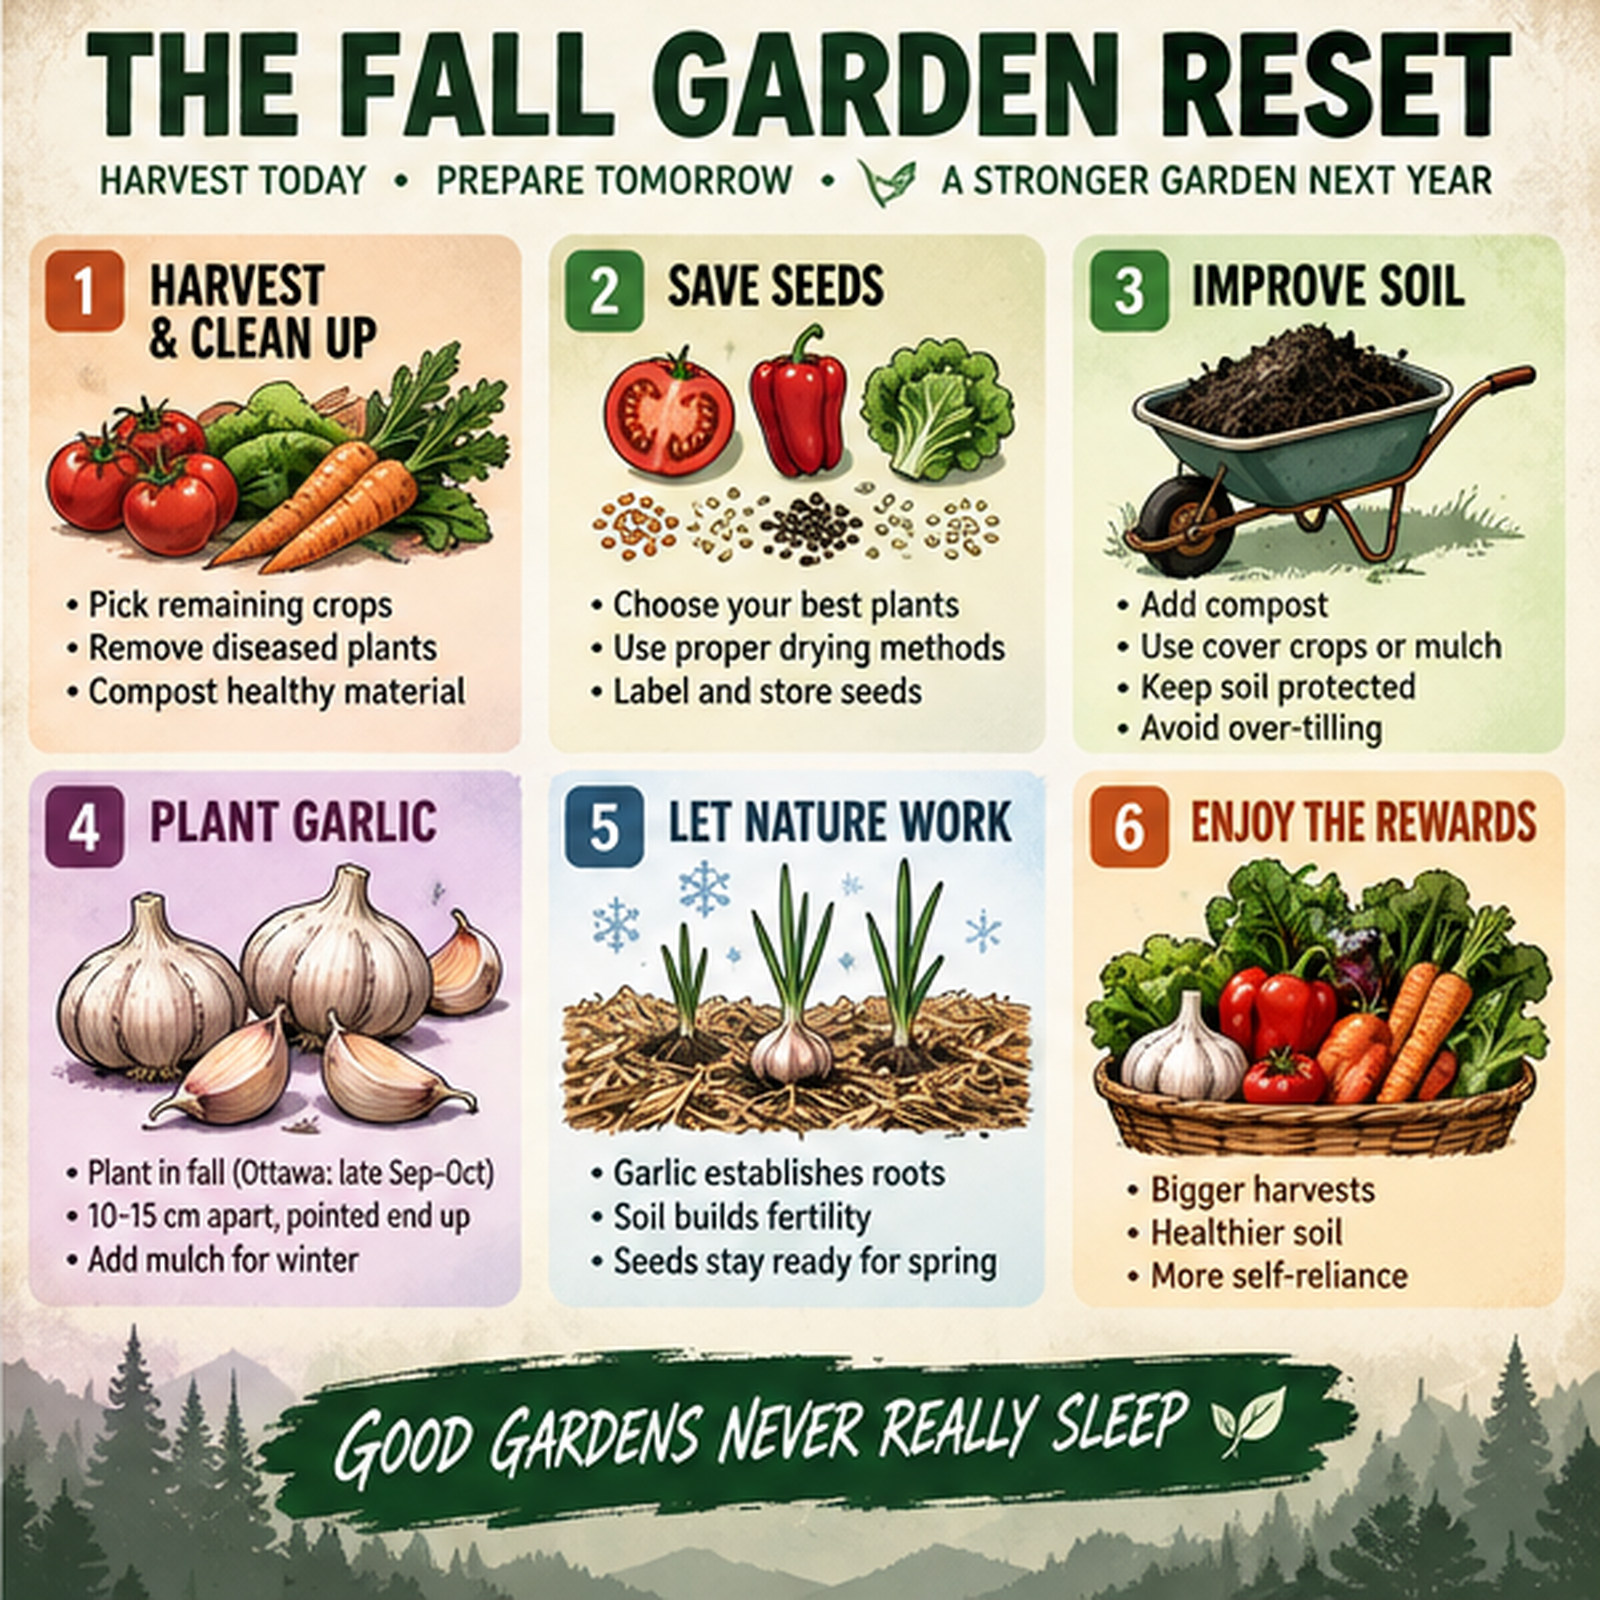
A Simple Fall Garden Reset
By the time the ground begins freezing, your garden does not need to look immaculate. It needs to be ready for what comes next.
A practical fall routine might look like this:
- Harvest the remaining usable crops.
- Identify your healthiest and best-performing plants.
- Save seed from suitable open-pollinated varieties.
- Collect lettuce seeds from mature flower stalks.
- Let selected peppers fully ripen before saving their seeds.
- Ferment tomato seeds to remove their gelatinous coating.
- Allow bean and pea pods to dry for seed.
- Dry every saved seed thoroughly.
- Label varieties and collection years.
- Remove diseased plants and seed-heavy weeds.
- Compost appropriate healthy plant material.
- Add finished compost where needed.
- Avoid blindly adding fertilizer or lime.
- Plant healthy garlic cloves for next summer.
- Mulch the garlic bed.
- Use cover crops where the timing makes sense.
- Cover exposed soil with mulch or plant residue.
- Write down what worked this year while you still remember it.
That last point sounds almost too simple to matter. It matters. Planting dates, varieties, pest problems, yields and mistakes become surprisingly difficult to remember six months later.
The Real Goal Is to Stop Starting From Zero
The most interesting thing about all of these practices is how they begin connecting with one another after several seasons.
The lettuce that looked useless after bolting becomes next year’s lettuce seed. A tomato becomes dozens of future tomato plants. Your best garlic bulb becomes planting stock. Fallen leaves become mulch. Kitchen and garden waste become compost. Cover crops capture nutrients instead of allowing them to wash away. Your notebook tells you which varieties actually worked on your property.
You are gradually turning a garden from something that consumes inputs into something that also produces its own inputs.
That does not mean you will never buy another seed packet or bag of compost. Nor should that be the goal. New varieties are useful, outside fertility may still be needed and sometimes purchasing healthy new planting stock is the smartest option.
Self-reliance is not about refusing outside resources. It is about becoming less helpless without them.
Final Verdict
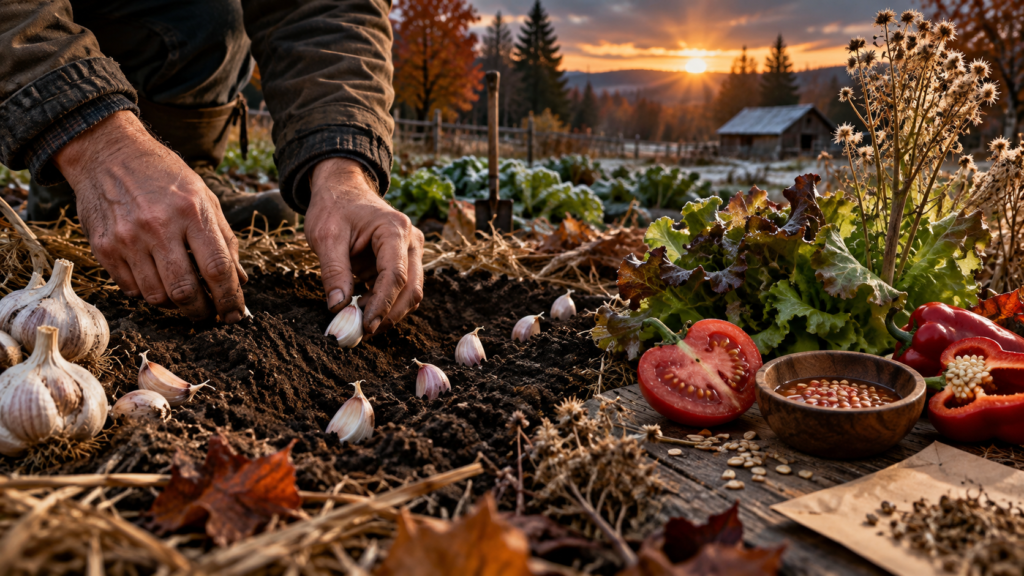
If you normally stop gardening the moment the final tomato comes inside, extend your season a little longer this year. Plant one bed of garlic. Leave one good lettuce plant long enough to collect its seed. Ferment the seeds from a tomato you really liked. Let one beautiful pepper fully mature and save its seeds. Put some finished compost back into the beds and cover exposed soil before winter.
You do not need to become an expert seed breeder or soil scientist in one season. Start with a few simple loops and see what happens.
The following spring, that little envelope of lettuce seed may become dozens of plants. The garlic cloves hiding under the mulch will suddenly punch green shoots through the soil. Compost and leaves that looked like waste will have begun disappearing into the ground.
And eventually you realize something important: next year’s garden did not begin when you opened a seed packet in spring.
It started with what you chose to save this fall.
Further Reading
Ontario’s agricultural guidance provides a detailed breakdown of garlic varieties, fall planting, soil preparation, mulching and harvesting. Ontario Garlic Production Guide
The University of Maine Cooperative Extension has an excellent practical guide covering lettuce, tomato, pepper and other vegetable seed-saving techniques. Home Vegetable Seed-Saving Guide
I will definitely plant a bed of garlic in the upcoming weeks. Also was considering taking home some of my neighbor’s bags of leaves and shredding them and compacting them to sell as mulch/ compost next season but not too sure of the viability of that idea. I’ll have to ask AI 😆